How to Create an Icon from the Clipboard Content
Creating an Icon from the Clipboard Content is the quickest way to proceed. It permits also to transfert images from external programs.
![]() If the external program (from where you copied the image) does not support 32Bpp images with transparent alpha channel, the transparency will be lost.
If the external program (from where you copied the image) does not support 32Bpp images with transparent alpha channel, the transparency will be lost.
Creating the Icon from the Clipboard Content
1. Select New/Icon Project From Clipboard or press Ctrl+Q. The dialog box New Icon Project opens. Select the type of icon you wish to create: Windows® (![]() ) or Macintosh® (
) or Macintosh® (![]() ):
):
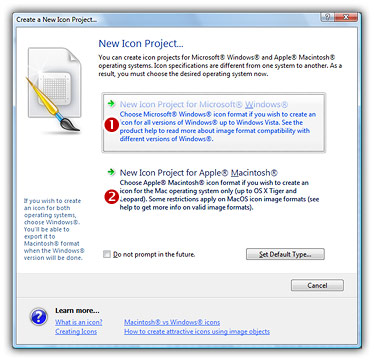
2. If you choose Windows® (the procedure is similar for a Macintosh® icon), a second dialog box opens.
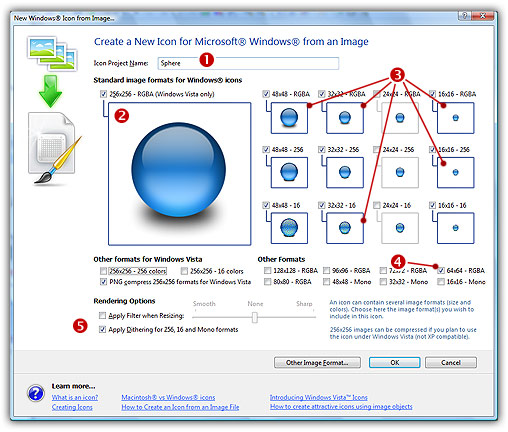
3. In the Name group (![]() ), enter the icon project name. Do not specify any extension.
), enter the icon project name. Do not specify any extension.
4. In the Image Formats group, select the image formats you whish to add in the icon (![]() ) and unselect the unwanted images (
) and unselect the unwanted images (![]() ). To know more about the desired Windows® standard image format, see What is an Icon topic. If you wish to start creating your icon with an unlisted format, click the Other Image Format button.
). To know more about the desired Windows® standard image format, see What is an Icon topic. If you wish to start creating your icon with an unlisted format, click the Other Image Format button.
5. When done, click OK. The icon is automatically created with the various image formats you've selected.