Working with Paths
What is a Path?
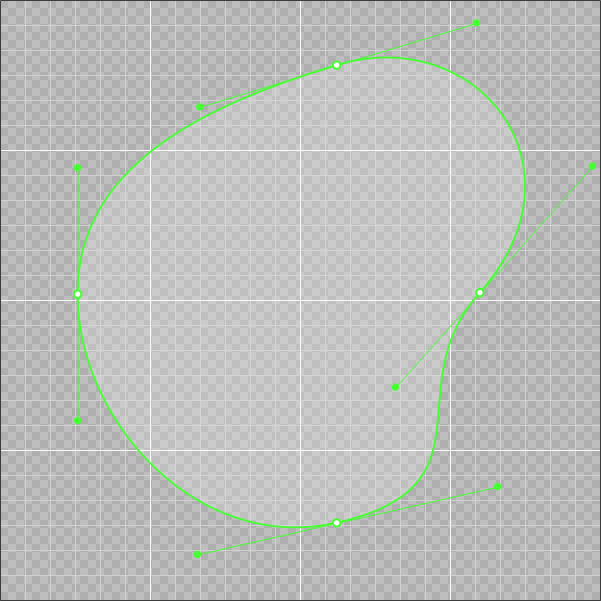
In vector graphics, a path is a flexible and fundamental shape that can represent almost any design. Unlike basic geometric primitives (like rectangles or ellipses), a path is described using a series of anchor points and lines or curves that connect them.
Each anchor point can have control handles (also called control points), which define the curvature of Bézier curves. This allows precise shaping of elements, making paths ideal for icons, logos, and intricate illustrations.

Paths are used to draw:
Straight lines
Smooth curves
Complex shapes with holes (when combined as compound paths)
IconVectors supports full path editing. Once an element is converted to a path, you can use the Path Edition Tool to manipulate each anchor and control point directly.
Note
In SVG files, a path is stored using the <path> element and its d attribute. This string defines all the move, line, and curve operations that make up the path.
Modifying Paths
Once a path is created, it can be edited and refined in various ways.
Use the The Path Edition Tool to modify individual nodes and control handles. This allows you to reshape the path, move points, and adjust curves with precision.
Use the The Pen Tool to extend an open path by adding new segments, or to close a path by connecting the last point to the first.
These tools make it easy to adjust your paths at any stage of the design process.
Simplifying Path
The Simplify Path feature reduces the number of anchor points in a path without noticeably altering its visual appearance. This can help optimize your design by reducing the complexity and size of the resulting SVG code.
How It Works
When you run the command, a dialog box opens allowing you to adjust the threshold value, which controls the simplification level:
Threshold range: from 0.01 to 1.00
Recommended value: around 0.10
Lower values result in fewer anchor points (more simplification)
Higher values preserve more detail
Hint
If the threshold is set too low, the path may lose important shape details and appear distorted.
- Use cases are:
Clean up imported or hand-drawn paths with excessive nodes
Reduce SVG file size
Improve editing performance
Prepare paths for export or conversion
Example
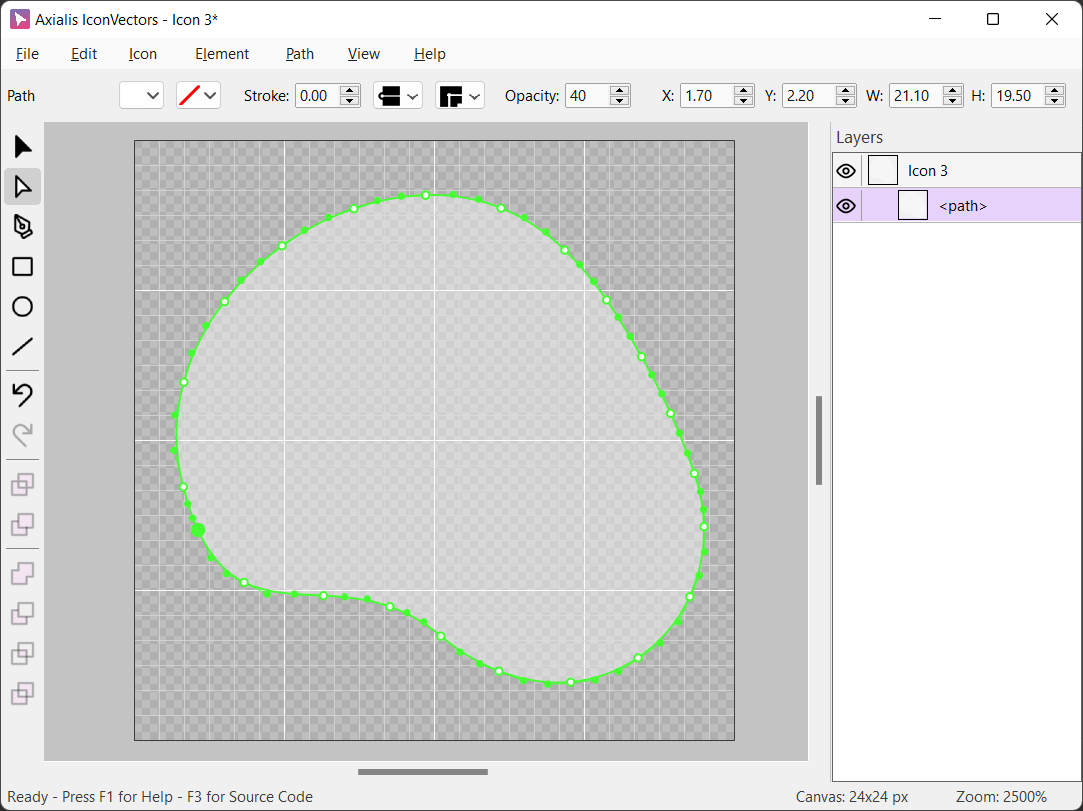
Before simplification (many anchor points):
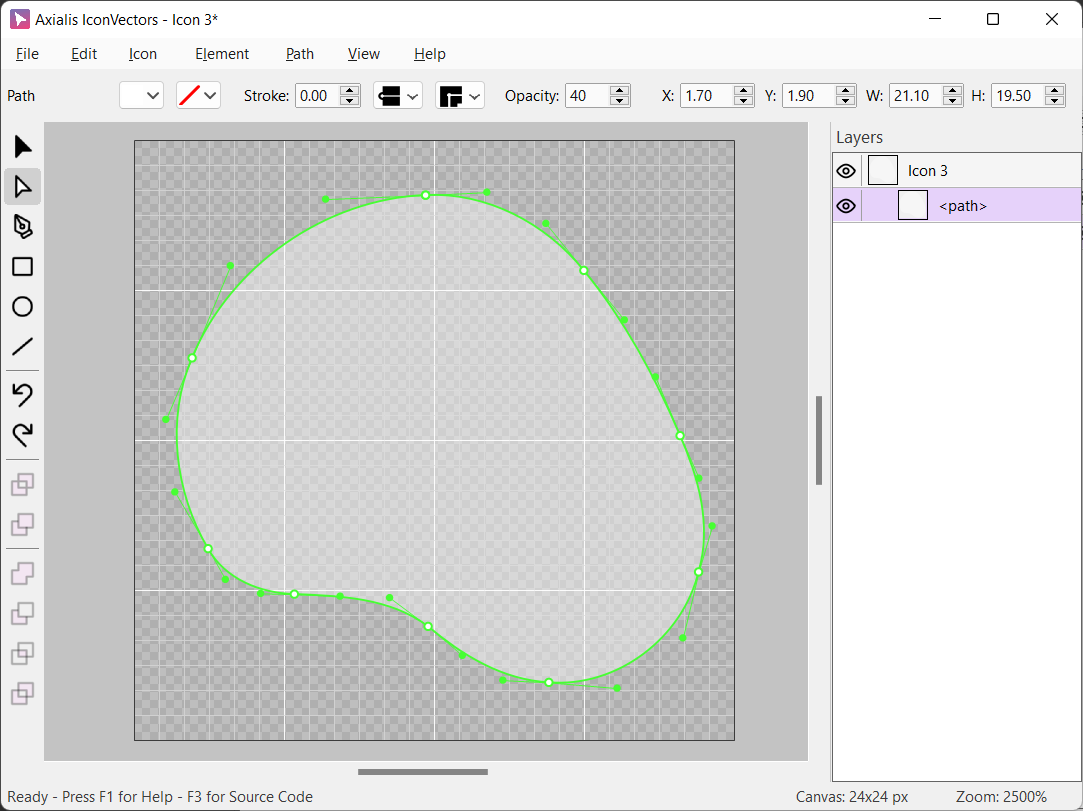
After simplification (fewer anchor points, same shape):
Outlining Stroke Path
The Outline Stroke Path command converts the stroke portion of an element into a new filled shape that matches the visible contour of the stroke.
How It Works
When applied to an element with a visible stroke:
The stroke is transformed into a filled path that exactly outlines its original shape.
If the element has only a stroke, a new element is created with a fill only (no stroke), matching the visual appearance.
If the element has both fill and stroke, it is split into two elements:
One element contains the original fill, with no stroke.
Another element contains the outlined stroke, as a filled path.
This allows precise editing of the stroke shape and enables further operations such as path modifications or boolean geometry operations.
Note
After conversion, the new shapes no longer have stroke attributes. They are purely fill-based paths.
Example
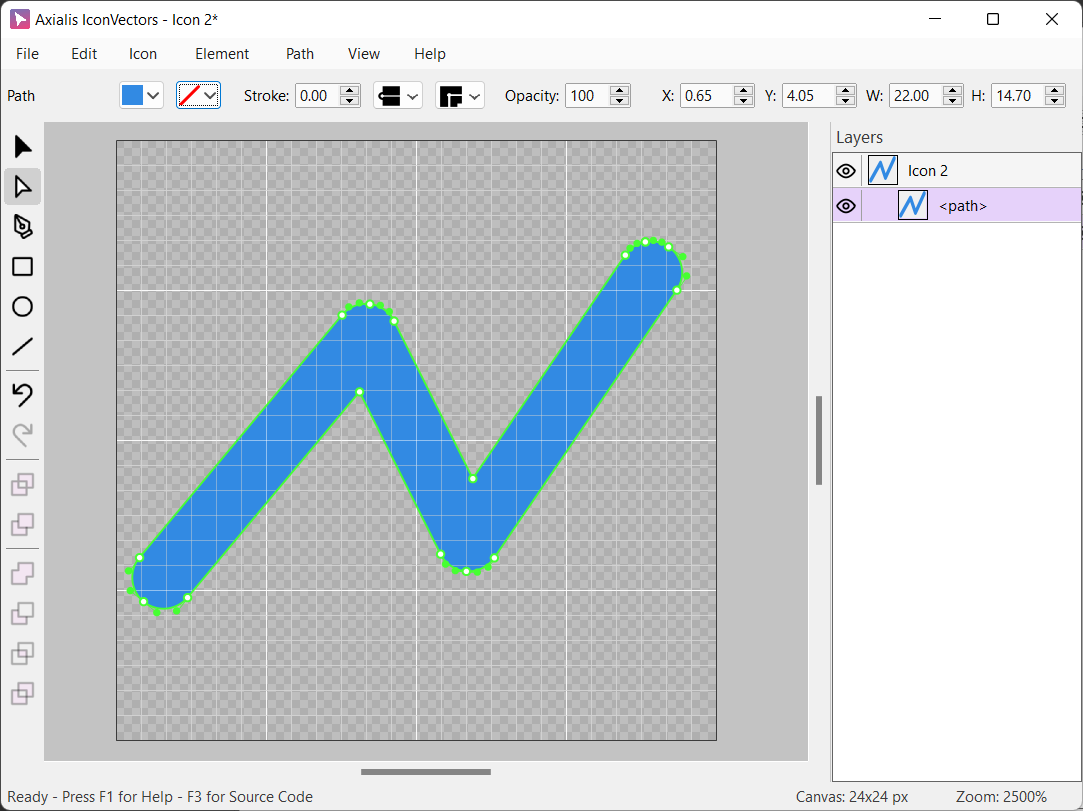
Below is an example of a stroked polyline before and after using Outline Stroke Path:
Before (blue stroke only):

After (converted to a filled path):
Usage
To apply the command:
- Ctrl+J
This operation is particularly useful when:
You need to perform boolean operations on stroke shapes
You want to edit the stroke geometry directly
You are preparing an icon for export where strokes must be flattened to shapes
Offsetting Path
The Offset Path feature allows you to create an inflated or deflated version of a path by moving all points outward or inward by a specified distance.
This is especially useful for:
Making shapes appear thicker or bolder
Creating outlines or shadows
Shrinking elements for spacing adjustments
How It Works
You can access the feature using:
– Ctrl+K
When activated, a dialog box lets you enter the offset distance:
Positive values inflate the path (expand outward)
Negative values deflate the path (shrink inward)
The offset is applied evenly along the entire outline of the shape, preserving the general form while adjusting its size.
- Use cases are:
Create bold versions of text-like paths
Generate a stroke effect using filled paths
Prepare a path for boolean operations by slightly enlarging or shrinking it
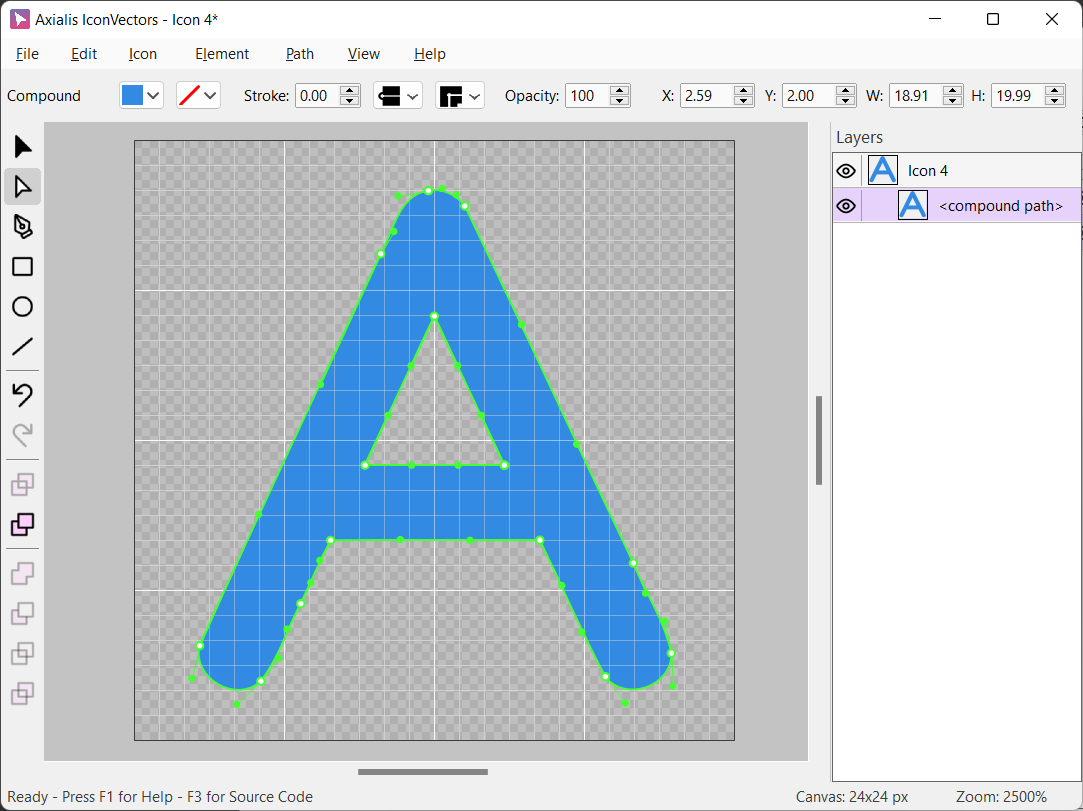
Example
Original shape (regular path of a letter “A”):
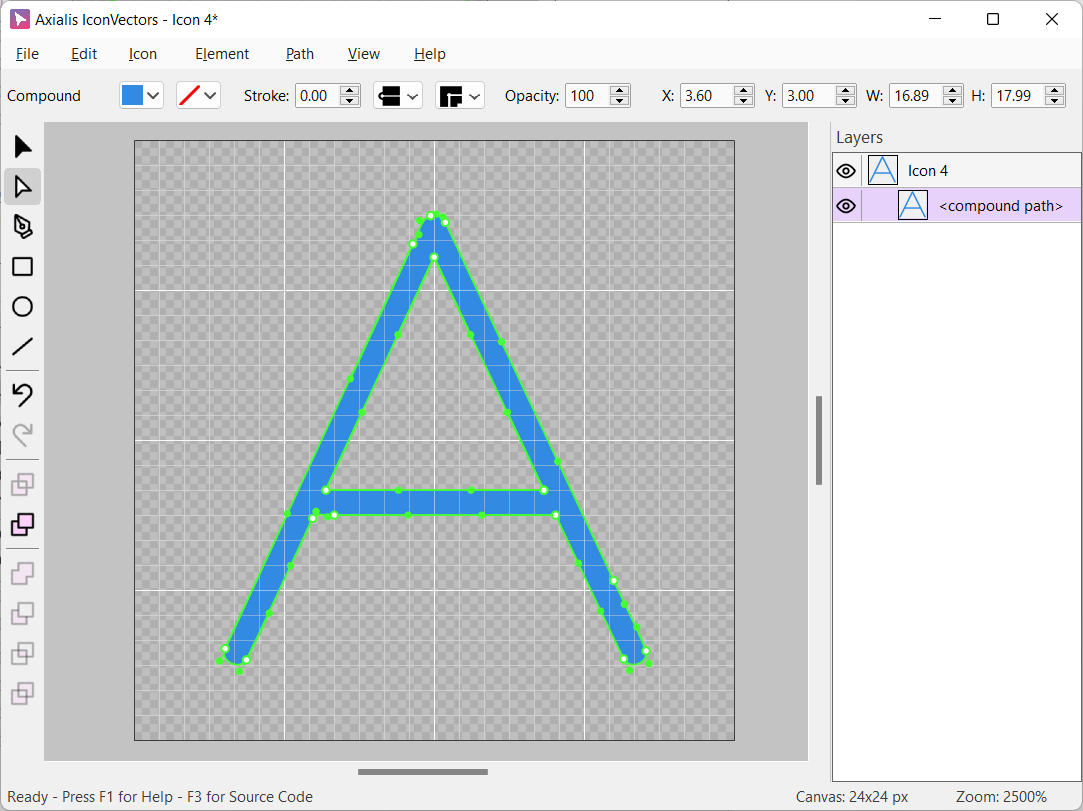
After offsetting (inflated to give a bold appearance):
Compound Paths
A compound path in SVG is a technique used to create complex shapes by combining multiple sub-paths into a single object. It is commonly used to define shapes that contain holes or intricate outlines.
What Is a Compound Path?
A compound path is a single SVG <path> element that includes multiple sub-paths. These sub-paths are rendered together and treated as a single unit. This is useful for:
Creating shapes with holes, like rings or donut shapes
Drawing letters with enclosed areas (e.g. O, B, e)
Merging multiple outline paths into a single editable object
Filling Behavior
SVG uses fill rules to determine how compound paths are rendered:
Non-zero winding rule (default)
Even-odd rule
These rules define which areas are filled and which remain transparent, based on the direction and overlap of sub-paths.
Creating Compound Paths in IconVectors
You can create and manage compound paths using the Path menu:
To create a compound path:
– Ctrl+Q
This merges the selected paths into one compound shape.
To release a compound path:
– Shift+Ctrl+Q
This separates the compound path back into its original sub-paths.
Behavior Notes
All sub-paths share the same fill and stroke style.
Transformations (move, scale, rotate) apply to the compound path as a whole.
You can edit the anchor points of each sub-path using the Path Edition Tool.
Compound paths help you organize your icon artwork and achieve more complex visual effects while maintaining structure and precision.
Making Boolean Operations
Boolean operations let you combine, subtract, or intersect vector shapes to build complex icons and clean geometry. These commands are available in the menu and work on two or more selected path elements.
Union
– Ctrl+U
Merges all selected shapes into a single unified path that covers the entire visible area of all inputs.
In the example below see how to make a lovely little cloud:
- Use cases:
Combine overlapping shapes into one object
Merge letters or icons into a single outline
Remove internal overlaps for exporting simplified SVGs
Subtract
- Ctrl+I
Subtracts the topmost shape from the one below it. The top shape acts as a “cutter.”
In the example below see how to cut a round portion of a square:
- Use cases:
Punch holes or notches in shapes
Create symbols or icons with cutouts
Trim overlapping sections from base shapes
Intersect
– Shift+Ctrl+U
Keeps only the overlapping area of all selected shapes, discarding the rest.
- Use cases:
Extract shared regions from intersecting shapes
Clip shapes using geometric masks
Build precise joint or crossing patterns
Exclude
– Shift+Ctrl+I
Removes the overlapping regions from the shapes, keeping only the non-overlapping parts. Also called XOR.
- Use cases:
Create outlined or ring-like effects
Remove intersections while preserving outer parts
Generate decorative or complex interlocking shapes