How to use Image Objects to Create Icons?
In relation to Axialis IconWorkshop, this article offers information on the following topics:
- Downloading and Installing an Object Packs
- Defining, Creating the Icon Project
- Building the Icon using Image Objects
- Finalizing the Icon by Creating All the Formats
- Creating a Macintosh Icon
Using Image Objects in IconWorkshop is like child's play. You'll find Objects in the Axialis Librarian folder and the associated integrated window which is present in all Axialis products. Additional Object packs can be downloaded from our website. You just need to use your mouse to drag and drop Objects which makes this an intuitive and fun-filled process. Before reading this tutorial we recommend you visit the following page to learn more about Image Objects: What is an Image Object?
Downloading and Installing Object Packs
Axialis IconWorkshop already includes some Objects packs, however new Object packs will be available for download from our website on a regular basis. Although some Object packs are freely available, others are reserved for our registered customers. Additionally, third-party authors may propose their own object packs (additional fees may be required for these). Links to selected object packs will also be added to our website object page.
1. Open your Internet browser and visit our page:: "Download Image Object Packs". We recommend you read the License Agreement before downloading packs.
2. When you're interested in an object pack (click "Read More" to get additional information on this pack), click the "Download Now" button which links to an executable file (EXE). You may be prompted by Windows or another Anti-virus application to confirm the download and execution of the file. Click "YES".
Installing packages downloaded from the Internet is potentially dangerous.
Install packages that you download from the Internet may contain viruses. However your security is our priority and all our files are periodically tested against all known viruses. Note that if you have Anti-virus software installed, the file will be automatically checked before it is launched.
3. Once the file is downloaded, launch the installation and follow the setup procedure. When finished, the objects will be installed in the "Axialis Librarian" folder. If IconWorkshop is installed the program will be automatically launched.
Defining, Creating the Icon Project
Before using the Image Objects we need to create a new icon project. An icon contains several image formats (see "What's an Icon?") so we need to define these formats before going on.
We'll create an icon compatible with Windows Vista (256x256 format), Windows XP (48x48, 32x32, 24x24 and 16x16 formats) and Dock Bar applications (128x128 format). To simplify the project, we won't add indexed color formats (256, 16 colors). By using Objects we'll make a "Glossy Earth" icon with a low shadow that will look like this:
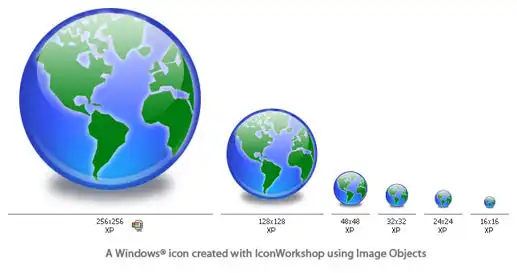
The largest image format is 256x256 XP (ie RGB with alpha channel). To achieve the best results we'll start the project using this new format and work with it to assemble the Objects. When finished, we'll create all the other formats using the resulting 256x256 graphic as a template. Let's create our new icon project:
1. Launch IconWorkshop. Choose File/New/Windows Icon Project or press Ctrl+W. A dialog box opens:
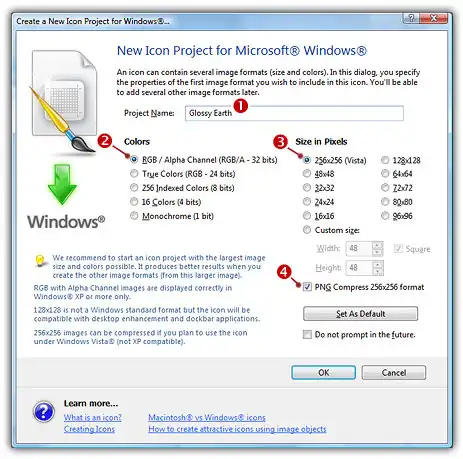
2. Type the name of the project 1: "Glossy Earth".
3. Now specify the format of the first image to add in the project: In Colors, choose "XP with Alpha Channel (RGB/A 32 bits)" 2. In Size in Pixels, choose and "256x256 (Windows Vista)" 3.
4. As we want the 256x256 format to be used under Windows Vista, we will choose to compress it as a special PNG file: Click the option "Compress 256x256 Windows Vista format" 4. To learn more about Windows Vista Icons?, read this article: "What's New with Windows Vista Icons?".
5. When done, click OK. A new icon project window is created 1:
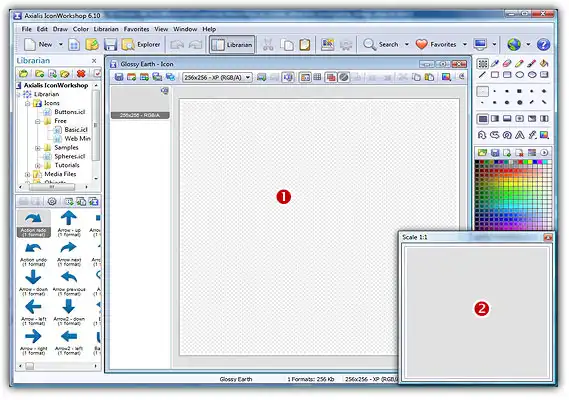
6. If the scale-1:1 preview window is not in 256x256 mode, the preview image will be cropped. We recommend that you switch to 256x256 preview mode to work with 256x256 Windows Vista Icons?. To switch to this mode, right-click inside the preview window and a menu will open. Choose "256x256 Display". The preview window now looks as shown above in "floating mode" 2.
Use the same method to return to the previous state: choose "128x128 Display", remove the "Floating Window" option and use the mouse to dock the window.
Building the Icon Using Image Objects
This is the most important part of the project. The time has come to be creative which you'll find easy and a lot of fun with IconWorkshop. Before we start, don't forget that each step of the creation can be undone/redone up to 16 steps (Ctrl+Z/Ctrl+Y).
7. In the Librarian window (choose View/Librarian if it is not visible), select the "Objects/Pack 1 - Glossy Buttons/Circle" folder 1. A list of available Object are displayed in the contents window below 2. Find the "Circle - Blue.png" file and select it 3.
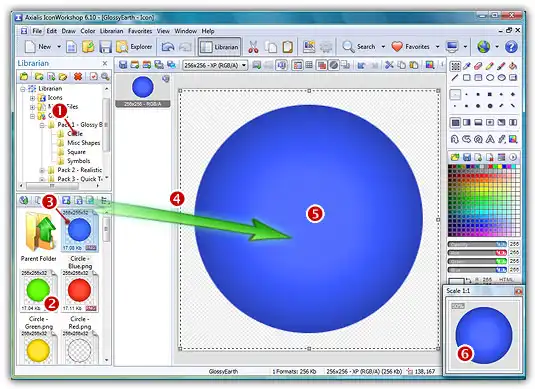
8. When done, use a mouse Drag-and-Drop to add it into the project as shown above 4. The Object is added to the project as a floating selection 5. Take a look at the quality of the artwork in the Scale 1:1 window 6.
Congratulations, you've just added your first Image Object to your project! As you can see it's very intuitive. Now let's continue and add other objects to build the icon.
Important
To follow the next steps, the "Preserve Transparency" option must be set (press "T" or select Draw/Preserve Transparency). If this option is not set, the transparency will not be kept each time you add a new image object and the objects already added will be fully replaced.
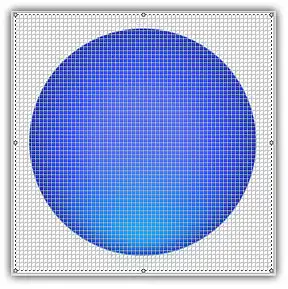
9. From the librarian, select the file "Circle Inner Light.png" and add it to the project using the same method. The resulting image now includes a cyan light effect as shown below:
10. To create the Earth image, we now add the map object. From the librarian, select the file "World Map.png" and add it to the project using the same method. The resulting image will look like the one below:

11. The result is good but we can make even better by increasing the realism and changing the color of the map to green. To do so, IconWorkshop has a feature to adjust the Hue/Saturation/Brightness of an image. Choose Draw/Adjustments-Effects/Hue-Saturation or press "U". A dialog box opens:
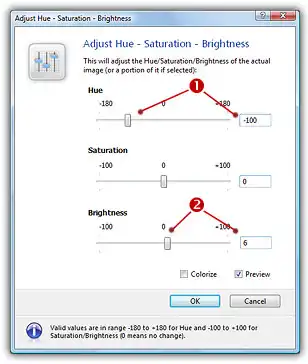
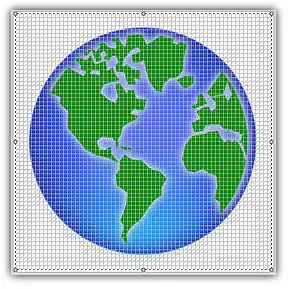
12. Set the Hue to "-100" either using the slider or by typing the value 1. It "shifts" the colors of the floating image in the spectrum. As a result, the map will be green. We will also slightly increase the Brightness of the map by specifying "6" 2. You can see the results in real-time in the Preview 1:1 window. When done click OK. Now the map is green:
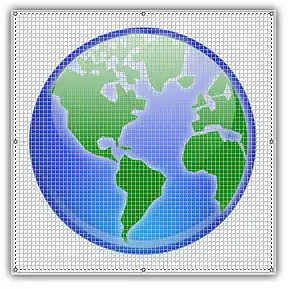
13. Do you recall the name of the icon? It's "Glossy Earth"! So, let's add the glossy effects. Firstly, using the same drag-and-drop method as above, we will add the object "Circle Effect 3.png". To increase the glossy effect we will also add the object "Circle Effect 6.png". It will look like this:
14. Now for the final touch: the shadow. We will add a shadow at the bottom and under the earth which will produce an interesting effect as if the globe was laid on a white horizontal plan.
First, we need to move the whole Earth 10 pixels up to leave more space for the shadow at the bottom of the image. Important: To do so, we must select the whole image. At present only the last object we've added is selected. Choose Edit/Select All or press Ctrl+A. There is no visual change but now you're ready to move the whole image.
To move the image, you can use the mouse (with a drag-and-drop) or use the arrow keys of the keyboard. To move the image 10 pixels up, hit the UpArrow 10 times or press Shift+UpArrow. The resulting selection rectangle is now 10 pixels outside the top of the editor area.
15. We can now add the shadow. Select the object "Circle Shadow.png" in the librarian and add it to the project. The resulting image looks like this:
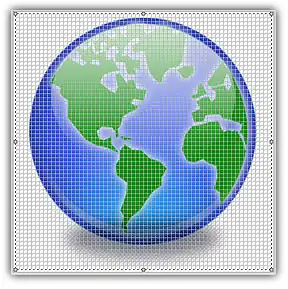
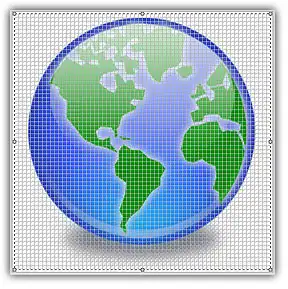
16. There's an obvious problem: The shadow is in front of the Earth Globe! The solution is as easy as a keystroke: Press the End key or choose Draw/Set Floating Selection to Background.
You're done! The resulting image should look like this:
Finalizing the Icon by Creating All the Formats
Now that the largest image is complete (256x256 RGB/A), we'll create all the other formats of the icons from this one. This is done in one step with Axialis IconWorkshop Corporate Edition. Using the Personal Edition, you need to create each format manually (see the product help file for more info).
17. Choose Draw/Add Several Image Formats from This Image or press "V". A dialog box opens:
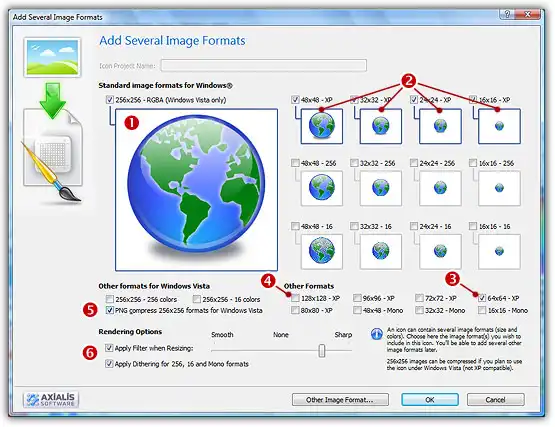
18. Select the images formats to include in the icon (1 / 2) by clicking on the associated check boxes. Follow the specifications as we defined them above.
19. You can also choose to apply the dithering option to the 256/16 color images as well as adding a filter effect to smooth/sharpen the resulting images in RGB/A mode 3. View the results in the preview images.
20. When done, click OK. The new formats are automatically created and added to the project 1:
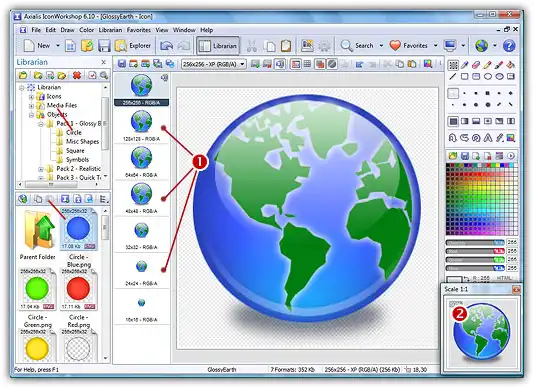
21. Take a moment to admire your work :) Click on the various formats 1 and see the resulting icon at scale 1:1 in the preview window 2. You can change the background lightness of the Scale 1:1 window simply by clicking in it using the left button of the mouse. This will allow you to see how the icon is displayed on different backgrounds with different lightness settings.
22. Save your icon: Choose File/Save or press Ctrl+S. It will be saved as Windows ICO format.
Congratulations! You've created your first icon from Image Objects. There is no limit to your creative potential when using Objects. You can resize them, change their color, their opacity, and more. You can even create your own objects by combining existing ones.
If you want to practice, try to recreate these sample icons made using the Glossy Objects pack:
Creating a Macintosh Icon
You can easily create a Macintosh icon using a similar procedure. When creating the project, choose "File/New/ Macintosh Icon Project" or press Ctrl+M and follow the same building method as described above.
You can also save your Windows icon in Macintosh format. When the icon is finished (step 22 above), choose File/Save as Macintosh Icon or press Ctrl+Alt+S.
Important
By doing this, some icon formats which are not available for Macintosh icons will be removed. In the example above, format 24x24 will be removed. An information message will be displayed


