Working with Collections
Collections are project documents (.AXICP) used to build and maintain a curated set of icons for an application.
They are especially useful when you need:
a consistent icon list shared across a team,
multiple variants of the same icon (different overlays, colors, positions),
repeatable exports as the project evolves.
A collection stores more than “a list of icons”: it also keeps per‑icon settings such as overlay position, colorization, background, and resource identifiers.
Show the Icon Collections window
Collections are displayed in the Icon Collections window (panel). If the panel is hidden, show it with:
F12
Tip
If your window layout becomes difficult to use (panels moved off‑screen, overlapping, etc.), restore the default layout with .
Collections are displayed as tabbed documents in the main window.
Create, open, save and close collections
Create a new collection
Ctrl+N
Open an existing collection
Ctrl+O
Save a collection
Ctrl+S
Close a collection
Ctrl+F4
Add icons to a collection
You can add icons in several ways depending on your workflow.
Add generated icons (recommended)
This method adds the currently generated icons (preview results) to the active collection.
Use the button in the Generated Icons panel: Add To Collection
Or use the menu command: Ctrl+W
Use Add To Collection to insert generated icons into the current collection.
Drag & drop from the icon list
You can drag base icons directly from the icon list to the collection:
Select one or more icons in the icon list.
Drag the selection and drop it into the collection.
This is useful when you already know which base icons you want and you plan to apply overlays later.
Double-click to add
Double‑click an icon in the icon list to add it to the current collection.
This is a fast “browse and pick” workflow: browse a category and double‑click icons to insert them.
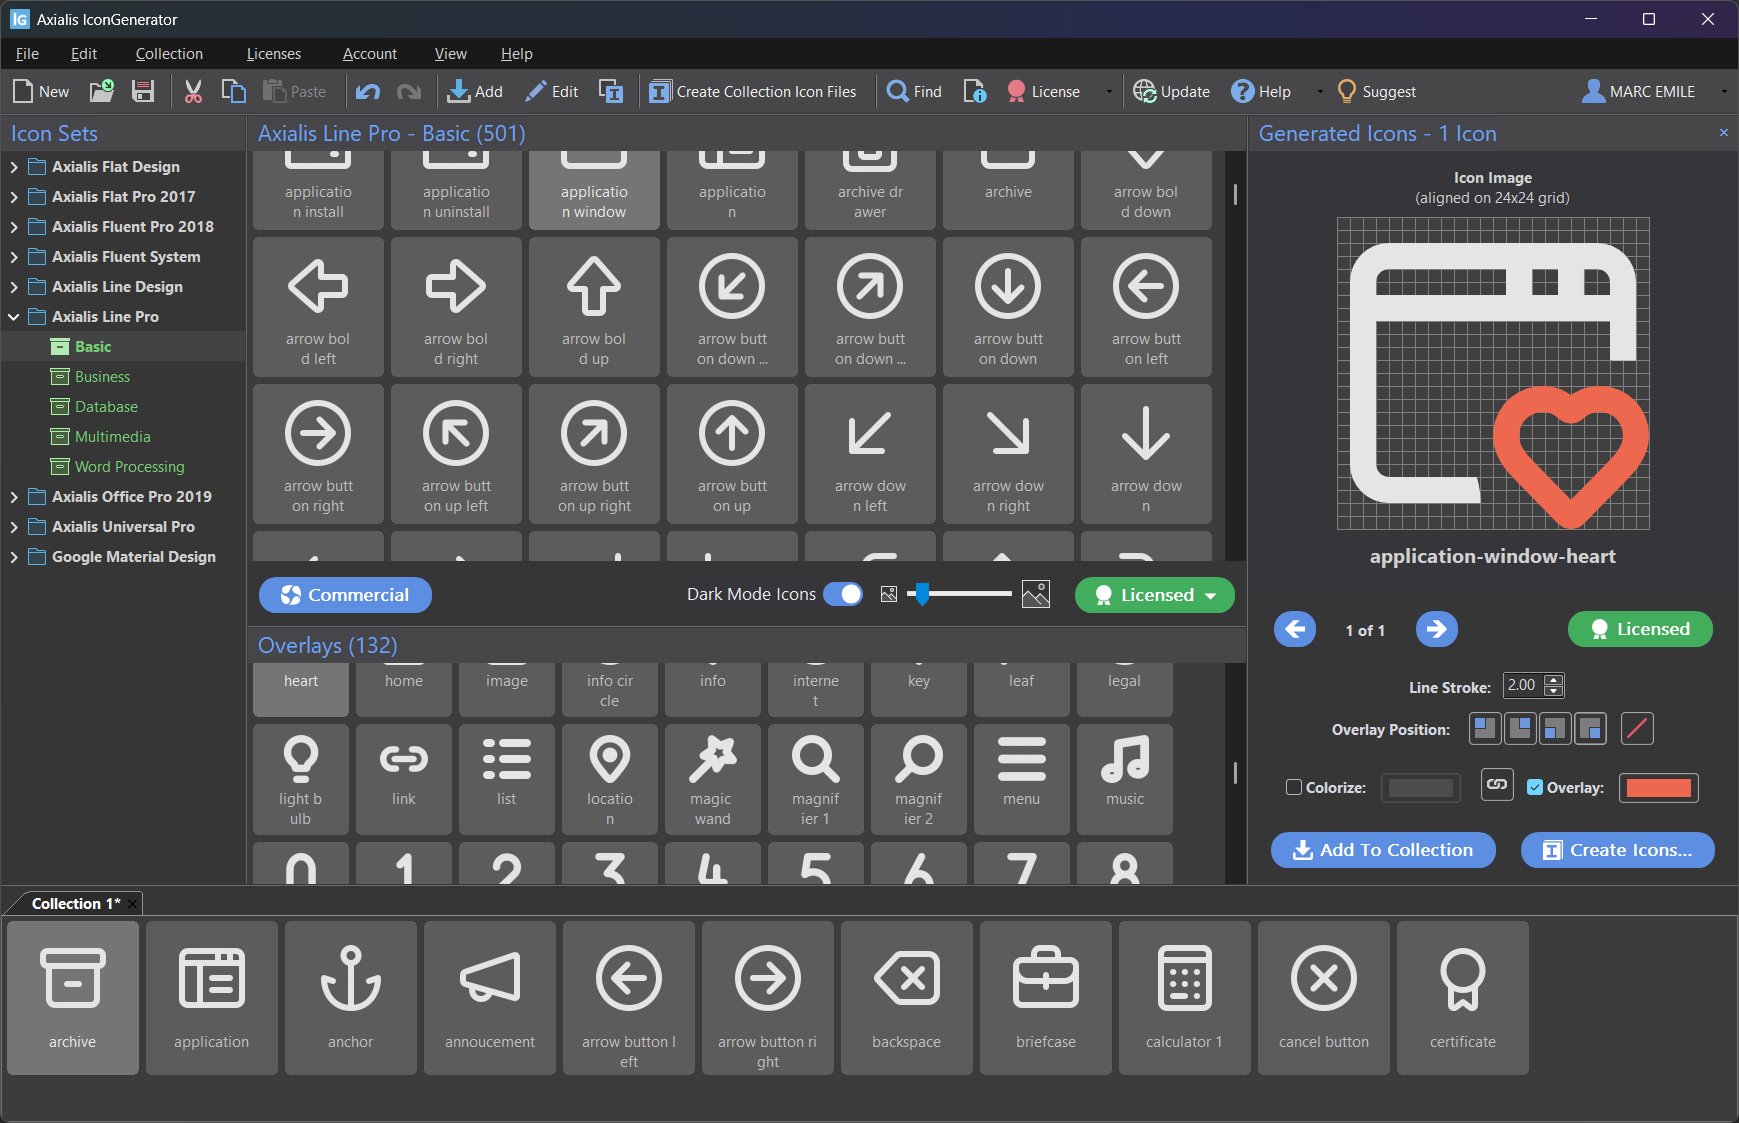
Apply overlays to icons in a collection
Overlays can be applied directly to icons already in the collection.
Drag & drop an overlay onto a collection selection
Select one or more icons in the collection.
Drag an overlay from the Overlays panel.
Drop it onto the selected icons.
The overlay is applied immediately to the selection.
Double-click an overlay
If one or more icons are selected in the collection, double‑clicking an overlay applies it to that selection.
Remove overlays
Remove overlays from selected icons using:
The same command is also available from the collection context menu (right‑click selection).
Change overlay position
Overlays can be placed in one of four corners. When you work in a collection, you can change overlay position for the selected icons using either the Collection menu or the collection context menu:
F5
F6
F7
F8

The four possible overlay positions.
Note
The shortcuts F5 to F8 are focus‑dependent: they apply to collection icons when the collection has focus, otherwise they apply to generated icons.
Organize icons in a collection
Reorder with the mouse
You can reorder icons by dragging them to a new position inside the collection. This is useful to keep icons grouped logically (for example by feature area).
Duplicate with Ctrl + Drag & Drop
To duplicate an icon (or a group of icons) inside the collection:
Select the icon(s).
Hold Ctrl.
Drag and drop to a new position.
A copy is created. You can then adjust properties (name, overlay, colors…) to create variants.
Cut / Copy / Paste / Delete
Standard editing commands work on the selected collection icons:
Ctrl+X
Ctrl+C
Ctrl+V
Del
The same commands are also available from the collection context menu.
Select all / none
Ctrl+A
Shift+Ctrl+A
Sort
Sort the collection icons with:
The Sort submenu is also available from the collection context menu.
Rename, numbering, and resource identifiers
Collections are designed for project workflows, so you can assign names and identifiers that match your code and resource conventions:
Name: user‑friendly name for the icon.
Resource ID: symbolic identifier often used in code or resource scripts.
Resource ID Value: numeric identifier (useful for resource tables / image lists).
You edit these fields in the Icon properties dialog (see below).
A common practice is to keep names predictable:
document-add,document-remove(overlay variants)001_open,002_save(numbered lists for ordering)
Icon properties
Icon properties are the central place to edit per‑icon settings in a collection: name, IDs, overlay position, colorization, and background.
Open Icon Properties
Select one or more icons in the collection.
Right‑click the selection and choose Properties.
You can also use:
Alt+Enter
Collection Icon Properties dialog.
Name
Sets the icon name stored in the collection. This name is typically used for organization and may be used as a base for filenames during export (depending on the selected export options and format).
Resource ID
Defines a symbolic identifier for the icon (example: ID_SAVE).
This is useful when you reference exported icons from source code or when you generate resource files in a build process.
Resource ID Value
Defines a numeric identifier for the icon (example: 1000).
This is often used in environments where icons are referenced by integer IDs.
Index Names & IDs
When enabled, IconGenerator automatically adds indexes to avoid duplicate Name and Resource ID values, especially in multi‑selection edits.
This is helpful when you apply the same base name/ID to several icons: the application keeps them unique by appending an index.
Overlay Position
Sets the overlay position for the selected icon(s) using the same four positions described in Adding Overlays. This is the per‑icon equivalent of the F5–F8 commands.
Colorization
Enables and configures per‑icon colorization stored in the collection:
Icon checkbox + color swatch: apply a color to the base icon.
Overlay checkbox + color swatch: apply a color to the overlay (separately from the base icon).
Color selection uses the same palette system described in Colorizing icons.
Icon Background
Adds and configures a background behind the icon:
Show Background: enables the background.
Colorize Background: enables a custom background color, chosen with the color swatch.
Background options are useful when you want “tile” style icons or when you need a visible background for previews or exports.
Multiple selection behavior
When several icons are selected, the dialog shows an Information – Multiple Selection message. Any information entered above (when applicable) is applied to the entire selection. If Index Names & IDs is enabled, indexes are added to avoid identical names and IDs across the selection.
Generate icon files from a collection (batch export)
To generate a full set of files from your collection:
F4
This opens the same export options dialog described in Export formats and options. You can select vector formats, bitmap formats, sizes, and additional options (image strips, hot/disabled variants, colorization, dark mode generation, etc.).