Make Icons for Dark Mode
Many applications offer a dark user interface. To look great in that context, icons must remain clearly visible on dark backgrounds (without looking washed out or too bright).
IconGenerator includes a dedicated Dark Mode Icons feature that automatically adjusts icon colors for dark backgrounds using an optimized palette transformation.
Important
Dark Mode Icons is about the icons you generate, not the application UI theme.
The application UI theme (Light/Dark/System) is configured in Preferences. Dark Mode Icons is a toggle that changes how icons are previewed and generated for dark backgrounds.
What happens when Dark Mode Icons is enabled
When Dark Mode Icons is enabled:
Icons are displayed on a dark preview background.
Icon colors are automatically adjusted to stay readable and well contrasted.
The transformation is automatic and optimized (you normally do not need to manually recolor icons).
When Dark Mode Icons is disabled (normal mode):
Icons are displayed on a light preview background (standard “light UI” usage).
Enable or disable Dark Mode Icons
You can toggle dark mode icons in two ways:
Click the Dark Mode Icons toggle located under the icon list.
Use the menu command: (toggle)
Note
There is no default keyboard shortcut for this toggle.
Workflow: create dark mode icons quickly
The fastest way to generate dark mode icons is:
1. Select icons and overlays
Select one or more base icons in the icon list.
(Optional) Select one or more overlays to create action/state variants (Add, Remove, Info, Error, …).
The Generated Icons panel updates to preview your selection.
If the Generated Icons panel is hidden, show it with F11.
2. Turn on Dark Mode Icons
Click the Dark Mode Icons toggle under the icon list.
IconGenerator immediately switches the preview to dark mode:
The preview background becomes dark.
Icon colors are transformed for good contrast.
3. Export or store the results
At this point you can either:
Export icon files directly to disk, or
Add the dark mode icons to a collection.
Export directly to disk
Use:
F3
This creates icon files for the current selection (icons + overlays) in the formats and sizes you choose.
Add to a collection
Use:
The Add To Collection button in the Generated Icons panel, or
Ctrl+W
This is the recommended approach when you want to keep a project’s light and dark variants together and export them later with F4.
Example: light icons vs dark mode icons
Normal mode (Dark Mode Icons off)
In normal mode, icons are previewed on a light background and added to the collection as “light UI” variants.
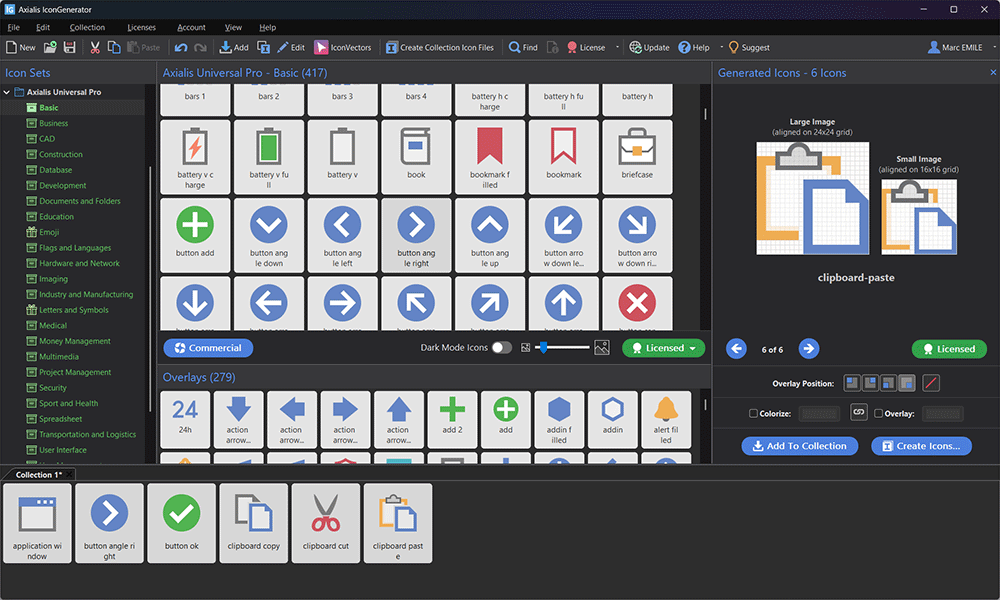
Normal mode: icons are displayed on a light background, and the collection contains the light variants.
Dark mode enabled
After enabling Dark Mode Icons, the same icons are automatically transformed for dark backgrounds.
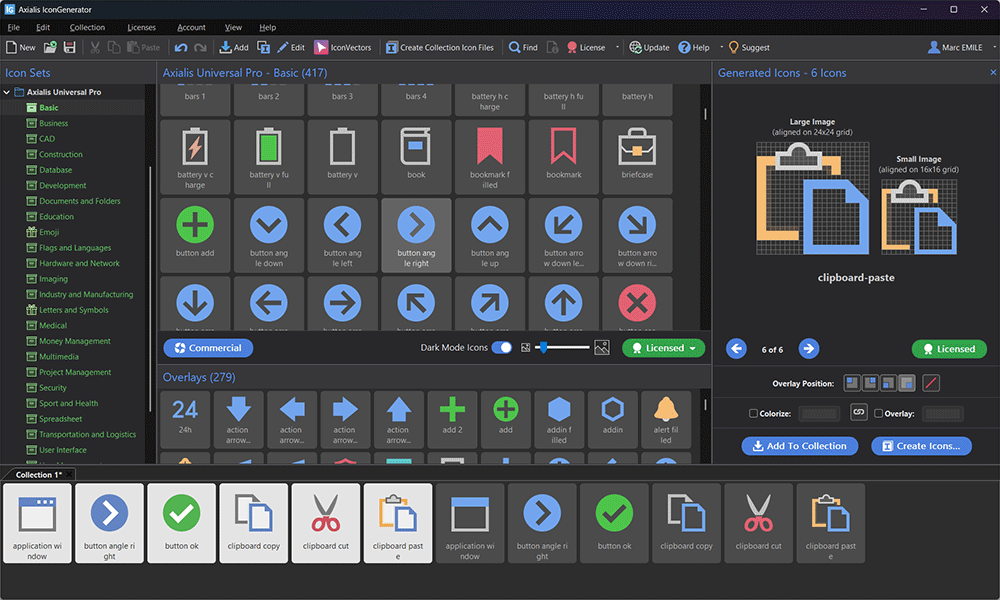
Dark Mode Icons enabled: icons are previewed on a dark background. Adding them again creates dark variants in the collection.
Notice that icons already present in the collection keep their existing appearance. This makes it easy to keep both variants side‑by‑side:
Add icons once in normal mode (light variant).
Toggle Dark Mode Icons.
Add them again (dark variant).
Tip: rename dark variants
When you build both variants in a collection, it’s often useful to rename the dark ones so they are easy to identify during export or in source code.
A typical convention is:
Icon name:
clipboard-pasteandclipboard-paste-darkResource ID:
ID_CLIPBOARD_PASTEandID_CLIPBOARD_PASTE_DARK
To rename several icons at once:
Select the dark icons in the collection (for example the ones you added after enabling Dark Mode Icons).
Right‑click and choose Properties (or press Alt+Enter).
Enter a base name/ID and enable Index Names & IDs if you are editing multiple icons.
For more on collections and properties, see Working with Collections.
Exporting dark mode icons
You can export dark mode icons in two ways:
Toggle Dark Mode Icons (recommended for visual preview + “add to collection” workflows).
Force dark mode generation from the export dialog (useful for batch exports).
Force Icon Generation in Dark Mode
In the export dialog (opened with F3 or F4), the Icon Colors section includes an option:
Force Icon Generation in Dark Mode
Use this option when you want to generate dark mode assets even if you are currently working in normal mode, or when you export from a collection and want to ensure the output is a dark mode variant.
See Export formats and options and Generating icons for the complete export dialog reference.
If you need extra contrast
The automatic transformation is designed to produce good results in most cases. If you want to fine‑tune colors, you can still use IconGenerator’s colorization tools:
Colorize the base icon and/or overlay (separately).
Use built‑in palettes (including Axialis palettes and standard UI palettes).
See Colorizing icons and Adding Overlays for details.