Editing icons
IconGenerator can open icons in an external SVG vector editor so you can create your own variants (starting from existing icons in the database).
This workflow is intended for free icon sets and activated (licensed) icon sets. Once edited, your custom icon can be used like any other icon:
apply overlays,
colorize,
generate files,
add to a collection.
Important
IconGenerator does not include a vector editor. You must install an external SVG editor and configure it.
Icon editing principles
Edit copies only
Original icons from the database are never modified. Before editing, IconGenerator creates a copy of the icon and opens that copy in your vector editor.
By default, you are prompted to confirm this behavior the first time you edit.
Tip
The prompt is controlled by the preference Ask to duplicate original icon before edition (see F2, General tab).
Two sizes: two editing documents
Some icon families provide two native sizes (for example a “large” size and a “small” size optimized for menus).
When you edit an icon from such a set:
IconGenerator creates two SVG copies (one per size).
Your editor opens two documents/windows: one for the large icon and one for the small icon.
To keep your UI consistent, edit and save both versions.
Configure the external SVG editor
Open Preferences:
F2
Open the Editors tab.
Choose a default editor:
If the editor is detected, select it from the list and click Set as Default.
Or click Browse… and select the executable of your preferred editor.
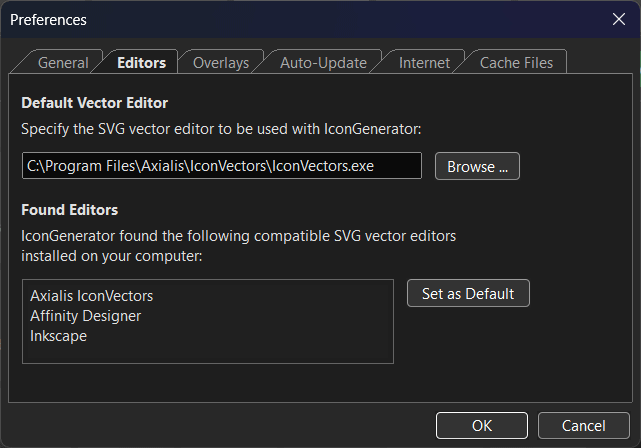
Configure the default SVG editor in Preferences.
Editors detected automatically
IconGenerator can automatically detect and propose common SVG editors, including:
Axialis IconVectors
Adobe Illustrator
Inkscape
Affinity Designer
Note
The Edit Icon With submenu (see below) is built dynamically from the editors detected on your machine.
Use any SVG editor
You are not limited to the detected editors. You can specify the path to any SVG editor that can open and save SVG files.
Editing workflow
Start editing an icon
Select an icon in the icon list.
Use one of the following commands:
(choose a specific editor)
Ctrl+D (create a copy first, then edit)
When you choose Edit Icon, IconGenerator uses your configured default editor.
When you choose Edit Icon With, you can pick a specific editor for this one operation.
Duplicate for edition
Use Ctrl+D when you want to create editable variants without immediately modifying the original.
Typical use cases:
create several variants (different shapes, details, colors),
keep the original icon untouched while experimenting.
After duplication, select the duplicate icon and use to open it.
Save changes and use the icon in IconGenerator
After editing in your external editor:
Save the SVG file(s) in the editor.
Return to IconGenerator.
IconGenerator uses the saved SVG(s) for preview and generation. If you do not see the update immediately, reselect the icon in the icon list (or close and reopen the document).
You can now use your edited icon like any other:
apply overlays (see Adding Overlays),
colorize (see Colorizing icons),
generate files ( F3),
or add it to a collection ( Ctrl+W).
Special workflow: edit with Axialis IconVectors
Axialis IconVectors is the recommended editor for icon work because it is designed specifically for:
small, grid-aligned vector images (icons),
UI-friendly export and code workflows,
fast editing of consistent icon families.
It is available for Windows and macOS and integrates well with IconGenerator.
Open the selected icon in IconVectors
IconGenerator includes a dedicated IconVectors button in the toolbar.
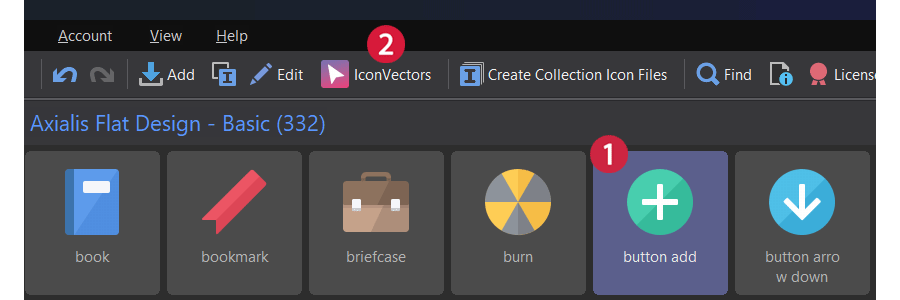
Select an icon in the list ①, then click the IconVectors button ② in the toolbar.
IconVectors opens the icon as SVG and it is ready for edition:
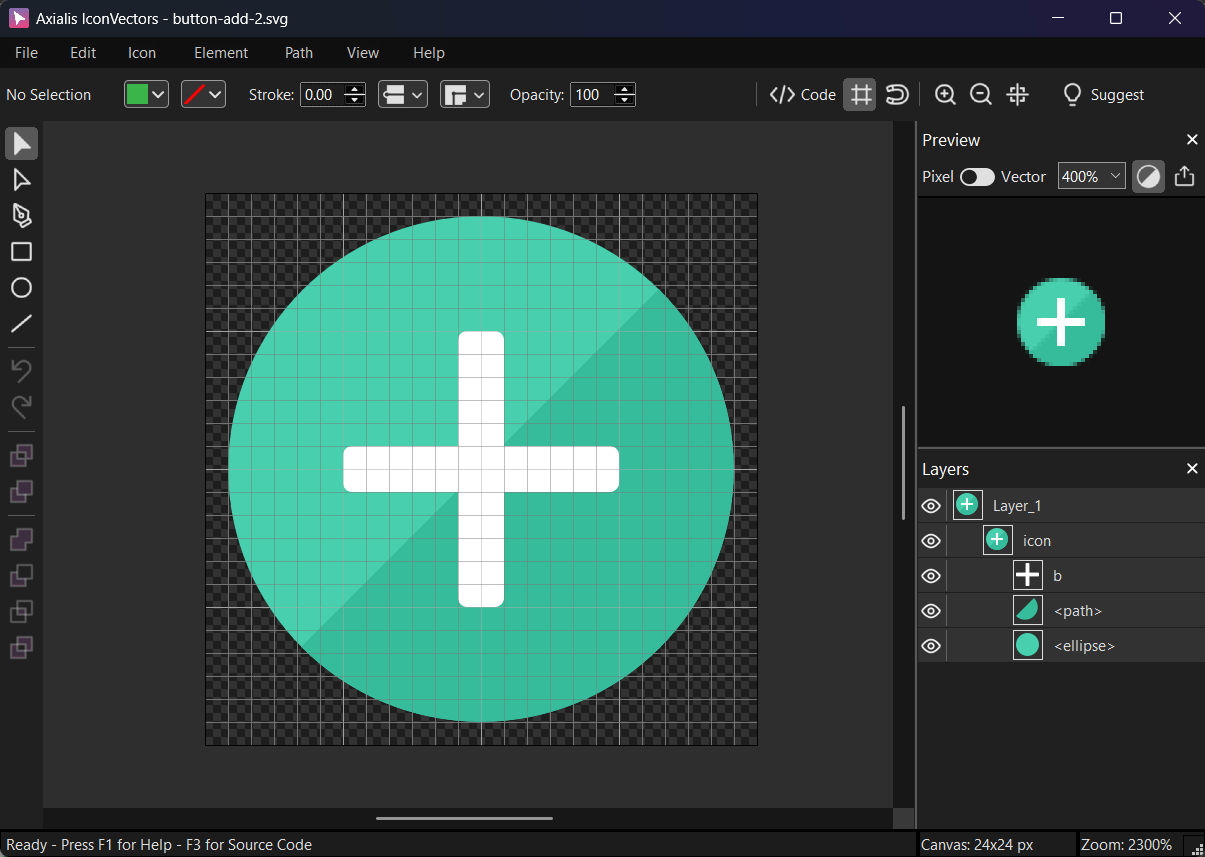
The icon opened in Axialis IconVectors.
Tip
If your icon set provides both large and small sizes, IconVectors opens two documents so you can edit both variants.
Managing edited icons
Rename or delete edited icons
Once you have custom icons, you can manage them using standard commands:
You can also use collections to organize variants (see Working with Collections).
Locate edited files on disk
Edited icons are stored as SVG files in the user Documents folder:
- Windows
C:\Users\<username>\Documents\Icons\
Tip
If you move IconGenerator to another computer, copy this folder too to keep your edited icons.
You can quickly open the containing folder using:
(When available, this command opens the folder where the selected icon SVG is stored.)